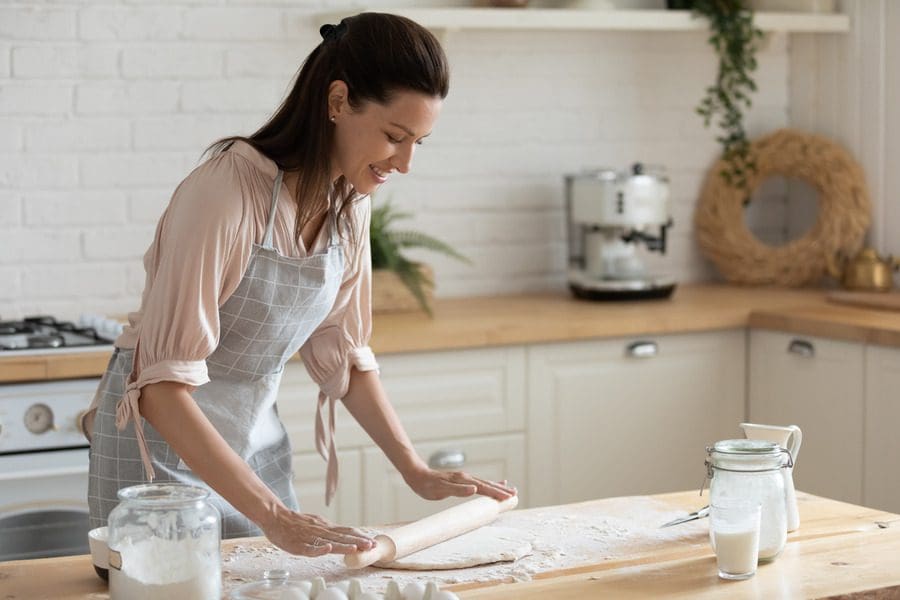
Few things taste or smell better than a loaf of hot, fresh bread you made with your own hands (and lots of love, of course). It can be intimidating if you’ve never baked bread before. But rest assured, with a little time and patience, anyone can whip up a homemade loaf of bread. Here is our complete guide to bread baking for beginners.
The Basic Essentials
Most bread consists of flour, water, salt, and a rising agent such as yeast. And, as with most things, the best results come from quality ingredients.
Regarding equipment, you’ll need a mixing bowl, measuring cups and spoons, and a baking dish. There are many methods of baking bread, but for beginners, a cookie sheet works splendidly. As you progress, you can dip into more advanced tools and equipment, but they can be expensive, so we recommend mastering the art as a beginner first.
Kneading
Kneading is probably the most fun part of bread baking because you can let out some pent-up aggression. You’re actually letting the gluten develop in the bread, which creates its structure and texture. To knead, push the dough with the heel of your hand, fold it over, and turn. Repeat this process until your dough has reached its desired texture.
A simple trick called the windowpane test can tell you when to stop kneading. Stretch the dough between your fingers. If it rips, keep kneading. If it stretches to form a translucent window, the gluten has developed, and you’re ready to let your bread proof.
Perfectly Proofed
Before baking any yeast bread, you must proof the yeast (soak it in warm water) to ensure it is alive and ready to create carbon dioxide, encouraging the dough to expand.
How to Tell When Bread Is Done
The best way to know when bread is done is with a quick-read thermometer that reads between 160°-180° F.
How to Store Your Bread
Homemade bread lasts roughly 3-4 days when stored properly. Bread boxes are the ideal way to store your bread, but you can also freeze it, which gives you 3-6 months to use.
Tackling Problems That Could A-rise
Bread Not Rising?
Unfortunately, there are many reasons why your bread doesn’t rise, but usually, it’s because the room is too cold. You can crank up the thermostat or save energy by putting the bread in a cold oven with a pan of boiling water.
Dry Bread?
This probably means your bread is overbaked. It’s important to keep an eye on the time and calibrate your oven temperature to adjust baking times in the future.
Raw or Chewy in the Middle?
A raw or chewy middle means the bread didn’t bake long enough. This is when a quick-read thermometer comes in handy. If you continue to notice your bread needs longer to bake, calibrate your oven.
You can also test the readiness of your bread by poking a knuckle in the dough; the indentation should slowly spring back.
Easy Italian Bread Recipe
We aren’t going to leave you empty-handed! Check out this simple recipe for Italian bread from Amanda’s Cookin’.
Ingredients:
- 1½ Tbsp active dry yeast
- ½ cup warm water
- ½ tsp + 3 Tbsp granulated sugar
- 2 cups hot water (not boiling)
- 1 Tbsp salt
- ½ cup vegetable oil
- 5-6 cups all-purpose flour (more if needed to get to a pliable dough)
- 1 large egg white for brushing on loaves
Instructions:
- Dissolve yeast, warm water, and ½ tsp granulated sugar in a small bowl.
- In a large bowl or stand mixer, combine hot water, 3 Tbsp granulated sugar, salt, and oil. Add 3 cups flour and mix well. Stir in yeast mixture.
- Add 2-3 cups more flour and mix until well blended. At this point, your dough will still be quite sticky. Leave in bowl, cover with a towel and let rise for 1 hour. If using a mixer, remove the bowl from the mixer and cover. Otherwise, your paddle attachment or dough hook will get covered in dough when it rises. No kneading is required.
- After the rise, if the dough is too sticky to handle, add more flour in quarter cupfuls until workable. For some, this can be up to a cup or more!
- Divide dough into 2 or 3 pieces. Roll out each piece on a floured surface to the length desired, then roll up lengthwise like a jelly roll. If it’s still too sticky, add more flour until it’s workable but not dry.
- Put on a greased cookie sheet, sealed side down, and tuck the ends under. Slash the top diagonally across the top every couple of inches with a sharp knife.
- Cover and let loaves rise 30 more minutes.
- While loaves are rising, preheat oven to 400° F.
- Whisk the egg white and brush over the top of loaves.
- Bake 25-30 minutes.


