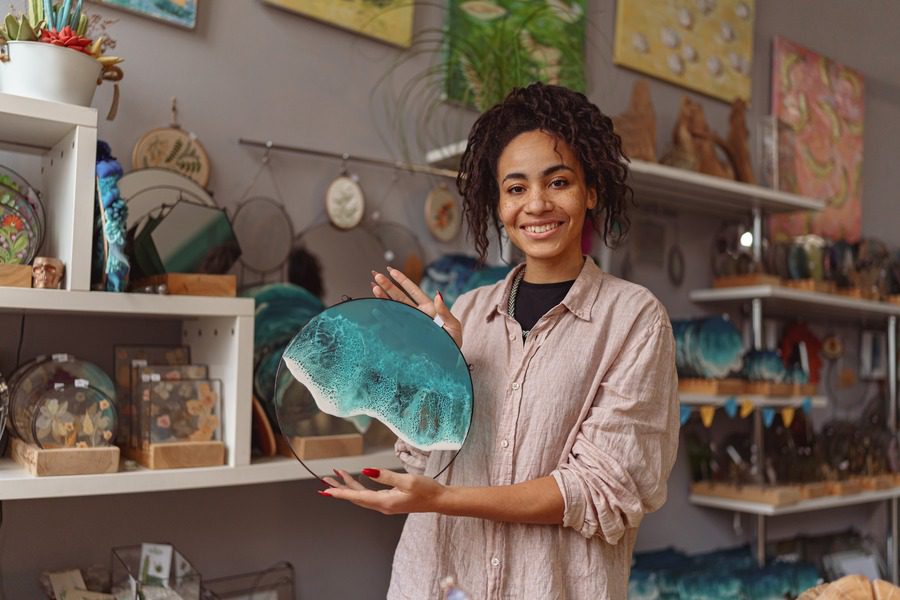
If you’ve ever thought, “I want to try that,” after admiring a gorgeous, glossy resin masterpiece, you’ve come to the right place! Making resin artwork is an enjoyable and creative project that lets you express your imagination. So grab your tools, roll up your sleeves, and let’s explore the fascinating world of resin art together!
Getting Started: Gather Your Materials
Before you start your resin art adventure, you will need the following tools:
- Resin: Select a transparent, premium resin appropriate for artistic endeavors. One common option is epoxy resin.
- Hardener: The catalyst that turns on the resin is this one. Make sure it works with the resin you selected.
- Our Pick: Art Resin Expo Resin & Hardener Kit ($36, shop here)
- Mixing Cups: For precise measurements, use graduated cups.
- Stir Sticks: Use smooth, disposable stirring implements to avoid air bubbles.
- Color Pigments: You can add vivid colors to your artwork using resin dyes, alcohol inks, or acrylic pigments.
- Molds: Choose molds for your creations in various sizes and forms.
- Release Agent: Facilitate a seamless demolding of your creations.
- Heat Gun or Torch: This is a must to eliminate air bubbles and get a glassy look.
- Our Pick: Seekone Heat Gun ($33.99, shop here)
- Protective Gear: To ensure your safety throughout the process, wear a mask and gloves.
- Workspace Cover: Keep resin drips off of surfaces.
Set Up Your Work Surface
Resin art can get messy. Assemble your workspace using a disposable tablecloth or plastic sheet to cover surfaces. To protect your clothing, ensure the space is well-ventilated and consider donning an apron or smock.
Measure and Combine
Now is the time to put your materials into practice! As directed by the manufacturer, measure the hardener and resin. Transfer them into a mixing cup and swirl.
Give Your Resin Some Color
The exciting part is about to begin: coloring your resin. Utilize alcohol inks, resin dyes, or acrylic colors to mix a palette that expresses your artistic vision. Keep in mind that resin tends to exaggerate hues when you thoroughly mix the colors.
Fill and Form
It’s time to pour now that your resin and colors are prepared! Pour the resin mixture into your molds, layering colors or decorating as you go. Use patterns, swirls, or even 3D effects to express your creativity. Try new things without fear; the whole point of resin art is self-expression.
Eliminate Air Bubbles
To get that perfect, glass-like surface, release any trapped air bubbles using a heat gun or torch. Move the tool in a circular motion, about 6 inches above the resin’s surface. Watch the bubbles vanish, revealing a polished and silky piece of artwork.
Allow It to Set
In resin art, patience is essential. Let your product cure in a dust-free area for 24-48 hours.
Appreciate Your Work
After the resin has dried, gently remove the mold from your work. If necessary, apply a release agent to avoid sticking.
Suggestions for Success
Here are some more pointers to help you succeed in your resin art projects:
- Try Layering: Pour the resin in layers to add visual interest and depth. Let each layer partially cure before applying the next coat.
- Incorporate Additions: To improve the texture of your artwork, incorporate glitter, metallic flakes, or other additions.
- Accept Flaws: Resin art is tolerant. Accept any flaws or surprising patterns as integral elements of your one-of-a-kind masterpiece.
- Protect Your Skin and Eyes: Wear safety glasses to keep spills out of your eyes. To further protect your skin, apply a barrier cream to your hands before putting on gloves.
- Examine Various Methods: Experiment with resin pouring, geodes, and other materials like cloth or wood.