The clock may be ticking down to winter, but you can hang on to summer’s fresh and sunny vibe by treating yourself to the amazing deliciousness of a fruit nail manicure. With fruity nail art flooding Instagram for inspiration, now is the perfect time to try this refreshing trend. Supermodel Gigi Hadid is on board; she vacationed with a colorful basketful of grapefruit, lime, strawberries, and orange slices on her fingernails. You could get the look by booking Hadid’s celebrity manicurist Mei Kawajiri.
If you don’t live in LA, you can check out your neighborhood salon for a local nail artist. It’s also not hard to DIY at home with a few simple tools if you want to take a bite out of this cheerful look. Kawajiri’s way starts with a sheer, natural base to provide a canvas for dainty, ultra-delicate accents. Nail experts say a sheer nude base makes any nail art look chic and sophisticated.
Pink nudes flatter your undertones
A sheer nude with a tinge of pink will flatter your undertones rather than washing you out. Look for formulations with no hint opaqueness to them. Try Jin Soon Nail Polish in Nostalgia, $18, Jin Soon. A nude pink base beautifully shows off the pop of orange slices or lemon wedges.
Pick up a glossy pink Essie’s Excuse Me Sur, $6.94, Amazon, to create the perfect pastel background for the bright reds and greens of a watermelon design. An opaque pink shade like Floss Gloss’s Perf, $9, FlossGloss is the ultimate canvas for cherries, while punchier neon colors are a great backdrop for larger fruits and patterns.
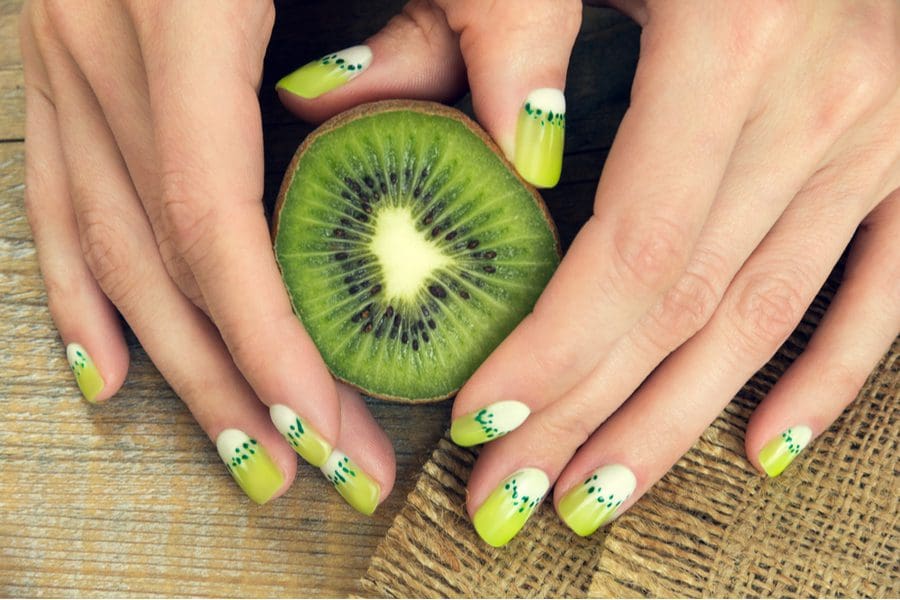
If you are no artist but still want to give yourself a fruit art manicure at home, trade your French tips for fruit tips. Painting nails a juicy pink with the tips in green will suggest a watermelon. A base of yellow and tips of green will say your favorite fruits are pineapples or lemons. Or try Olive & June’s fruit nail stickers. You’ll go bananas for their Fruit Salad Mani Kit that includes polish, top coat, and a set of decals for $22.
Try a DIY cherry design
Here’s a cherry design that you can easily DIY at home. Practice painting cherries on paper to get a feel for pressure and size before you start. In addition to the usual manicure supplies, you’ll need a paper plate, a nail-dotting tool or bobby pin, and a thin nail-art brush or any kind of thin paint brush, opaque pink polish, red nail polish and dark green nail polish.
The Look: The Cherry on Top of Summer
Step 1: Paint your nails with a clear base coat, then paint two coats of an opaque pink polish on every nail to offset the brighter designs to come later.
Step 2: Pour a little bit of red nail polish on a paper plate. Dip a nail dotting tool (or bobby pin or tip of a sewing pin) in the polish, then create pairs of cherries side-by-side by dabbing dots on your nail. Dip the dot tool in polish a second time and dab the cherries again if you want the cherries to look bigger.
Step 3: Pour some dark green polish on the paper plate. Dip a nail-art brush into the dark green polish, then gently draw a V-shape stem connecting the cherries in each pair.
Fruit nail art is great when you want to express your whimsical side in a fresh and colorful way. A fruity manicure is a fitting celebration of the sweetest days of the year.