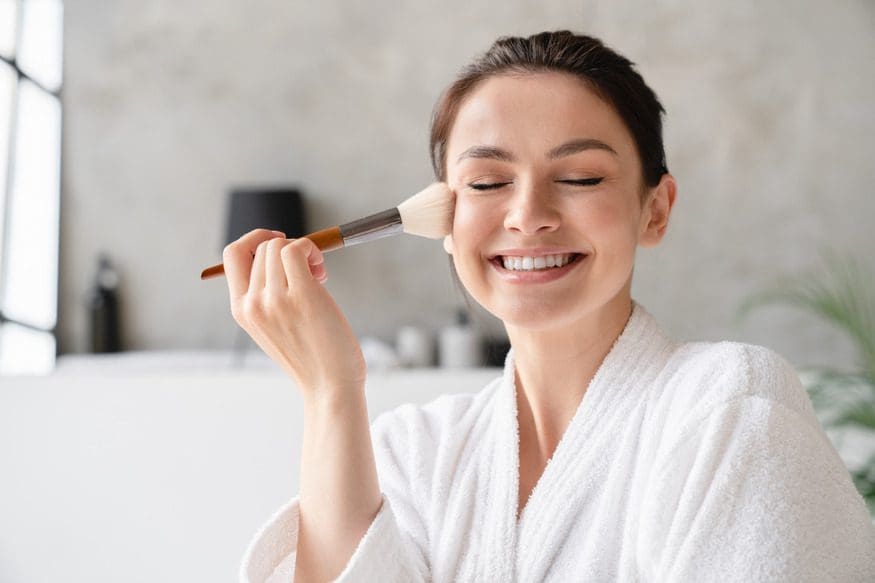
Friends don’t let friends have cakey makeup! Dealing with an unintentionally thick makeup application can leave your skin looking patchy, unhealthy, and crepey, which is not what we want when doing a full makeup look. Frankly, we were tired of it, so we took it upon ourselves to find the best ways to remedy it. Sit down, besties! This is Fixing Cakey Makeup 101.
Lesson One: Skin Prep
Makeup can only look as good as the skin underneath it! Take the time to cultivate your perfect skincare routine for your skin type. Exfoliate weekly, moisturize nightly, and take extra care to protect your moisture barrier so your skin texture can be nothing but silky smooth. Prior to any makeup routine, complete the following steps:
- Cleanse your skin using a face wash of your choice. Packing makeup on top of dirty skin is a surefire way to break out, so be thorough in your washing!
- Serum can be a plus, especially if you have drier skin. Choose one that targets your skin concerns and give it time to settle into the skin for at least 15 minutes before your makeup application.
- Moisturizer is an unskippable step, even if you have oily skin. This will hydrate dry spots, leave texture looking less noticeable, and allow your natural glow to peek through. Be sure to use an oil free moisturizer if you’re prone to breakouts.
Lesson Two: All About That Base
Finding your holy-grail base routine can be daunting, but it’s necessary to avoid cakiness! Choose products compatible with one another (meaning they have the same base). For example, a water-based foundation will look patchy and thick if paired with a silicon-based concealer and vice-versa. Test out your foundations with a store sample when you can!
Lesson Three: Find Your Shade
Finding your perfect foundation or concealer shade can make the biggest difference in your final look. When you discover your true color match, it will neutralize skin problems and look flush with your skin. Conversely, when you use the wrong color or undertone, your skin may end up looking ashen or unblended. What happens when you look the wrong color? You use more product to fix it! (Which can leave you looking cakey!)
Lesson Four: Sponges Are Your Friend
We love makeup brushes, but they don’t sink product into your skin the way a sponge can! Instead of allowing foundation or product to sit on top of your face, a dampened sponge presses the product into the skin and keeps your makeup thin and blended without compromising coverage. The same trick can be applied using your fingers to blend your makeup into your skin. It’s best when your hands are warm so the product melts even more.
Lesson Five: Hey, Mister!
Cakey makeup can happen when the layers of your makeup dries before the next layer is blended in, preventing your products from melting into one another. The result is thick makeup that emphasizes pore size, texture, and spots! The best way to fix this is by dampening your face with a light spritz of setting spray or water to keep everything hydrated and ready to blend. Use a dewy or natural setting spray, as a matte one will dry out the product.
Lesson Six: Powder Picks
Probably the biggest culprit behind cakey makeup is your choice of powder. You want a thinly milled, translucent setting powder, which sits more naturally on the skin. Here’s our favorite powder routine:
- Loose powder should be applied during application to set your concealer and cut your contour. Apply it using a dry beauty sponge, and don’t be afraid to be a little heavier-handed. Once applied, gently sweep any excess away with a fluffy brush.
- Spray your makeup with a setting mist to blur your look, and let that initial layer of powder blend into the skin.
- Pressed powder is the final step and should be applied with a sponge while your skin is still damp. Really press this into the areas you need it, and you should be set all day!


