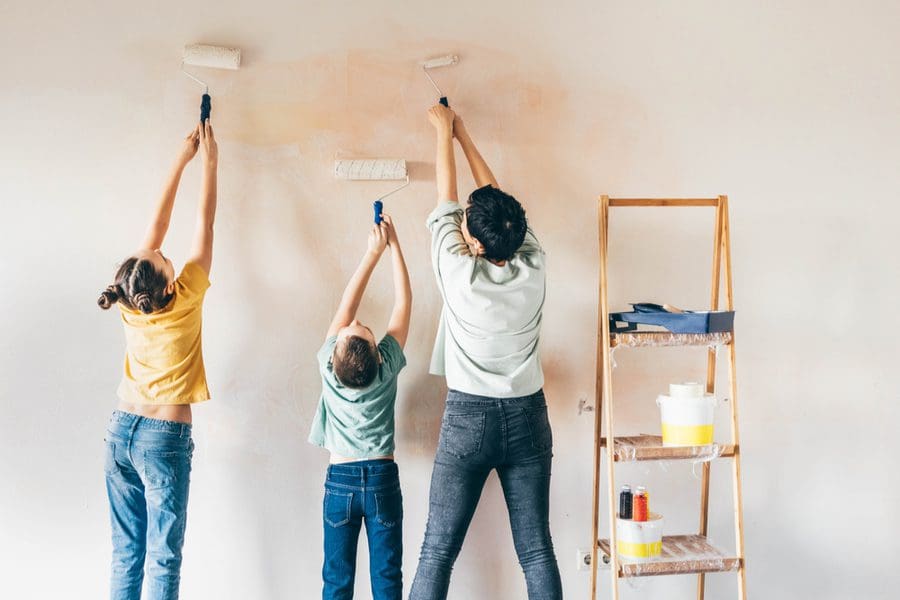
Painting interior walls in a home or office can be frustrating, tedious and time consuming. That being said, if you’re going to take the time to do it, it makes sense to focus on doing it right. Before you even dip the brush into the gallon, make sure you’ve completed the below steps to ensure your room looks as perfect as possible!
Remove Everything
Before you start painting, remove everything from the walls (and even move furniture away from the space so as not to drip paint on it). This isn’t limited to paintings and furniture, however, as you should also unscrew outlet plates and other, similar items from the walls so you can make sure to touch up those areas as well.
Take the Time to Patch
Whether you’re moving into a new home and painting for the first time or touching up your room with a brand new color for an updated look, your walls likely have some wear and tear that needs touching up. Whether you’re dealing with dents, pin holes or larger gouges, make sure you are patching everything with spackle (wall filler) to give your walls that untouched appearance. (Shop here).
Sand Everything Down
Use sandpaper to smooth uneven surfaces, remove the sand with a clean wash cloth and let dry. Smoothing your walls before painting is important for surfaces that were previously painted with a high-gloss paint. If you patched your walls, or if you notice uneven surfaces or paint drips from a previous paint job, take the time to sand down those problem areas to ensure you’re painting on an even surface. Not only will this ensure your end result looks perfect, but it will also help you down the road should you choose to paint yet again.
Wipe it Down
If you are sanding your walls, you’ll likely be left with a dusty residue. In addition, your walls have likely accumulated dust over time and need to be wiped down to make them ready for paint. In either instance, make sure you’re taking a wet rag and quickly wiping down the walls you intend to paint before you get started.
Clean up the Trim
Wiping down the walls is a relatively quick and easy process, but when it comes to your trim, you should take a little more time to really ensure they’re clean. Wiping down your baseboards, the crevices between the ceiling and the wall or even crown molding, if applicable, is important when it comes time to edging, as unclean surfaces can ruin your brush and leave sediment in your fresh coat of paint.
Edge the Walls with Tape
Painting the four walls of your room but not the ceiling or the baseboards? Buy blue painters tape (shop here), and carefully line the ceiling right on the line where the ceiling touches the side walls. Pro tip: if you are painting the walls a super similar color as the ceiling, it’s not as big of a deal how perfectly the tape is placed. But, if you are going with differing shades, be sure to line that tape up as well as you can! The same goes for the baseboards. Place the tape directly on the baseboard, so the top of the tape is starting at the very bottom of the wall – so you’ll be painting the wall and not the baseboard.
Once the tape is placed on the ceiling, take a small angled brush and paint starting from the tape down the wall about 2 inches all the way around the room. And for the baseboard, start at the top of the tape and paint upwards on the wall about 2 inches all the way around.
Roll on the Rest
Once you are done taping and edging the wall, it’s time to utilize a roller to finish the job. This part should go the fastest, as you’ll simply roll on the paint from top to bottom. It helps to make a small “W” by starting at the top, going to the bottom, and slightly overlap each new stroke as you go. It helps to have a drop cloth on the floor below you, as rollers have a tendency to be messy and drip on the floor.
Let Dry & Restore the Room
Lastly, you’ll want to leave the space alone for 48 hours to give it plenty of opportunity to dry before hanging your items back on the wall and moving your furniture back to where it belongs. Hanging belongings on a tacky wall will results in a messed up paint job.
Painting is no quick and easy task, but when you follow the right process, the end-results really can’t be beat. So, if you’re craving a space that looks brand new with minimal cost required, follow these steps to ensure your room has the perfect aesthetic.


